Practical: Observing Mitosis (SQA National 5 Biology): Revision Note
Exam code: X807 75

Written by: Cara Head
Updated on
Observing dividing cells from a root tip
Cell division occurs in actively growing regions of a plant root tip
The root tip is where cells divide rapidly to allow the plant to grow
Pre-prepared slides of root tips can be studied, or temporary slides can be prepared using the squash technique below
Examiner Tips and Tricks
Note that this practical is a 'suggested practical' in the specification, rather than content that all students are expected to learn. Some schools may choose to complete alternative practicals, or may miss out practical work that is not realistic, e.g. due to equipment or time constraints.
Apparatus
Onion /garlic roots (the bulbs can be encouraged to grow roots by suspending them over water for a week or two)
Scalpel
Forceps
Dilute hydrochloric acid
Water bath (at ~60°C)
Microscope slides and coverslips
Pipettes
Mounted needle
Acetic orcein stain
Paper towels
Optical microscope
Method
Place root tips in a small beaker containing dilute hydrochloric acid
Warm gently in a water bath (~60°C) for about 5 minutes to soften the tissue and break down the cells
Remove the root tips and rinse with distilled water to remove acid
Cut off about 2–3 mm from the very tip of each root (the growing region) using the scalpel
Place the tip on a microscope slide using the forceps and add a few drops of acetic orcein stain (or other acetic acid-based stain) with a pipette
The acetic acid in the stain fixes the tissue and helps the chromosomes take up the dye
Leave the stain on the tissue for about 2 minutes
Gently tease apart the cells using a mounted needle
Carefully place a coverslip over the sample
Use a paper towel to press gently (or tap with the blunt end of a pencil) to spread the cells into a thin layer (this is the “squash”) — avoid sliding the coverslip
Observe the slide under low power, then high power, to see dividing and non-dividing cells
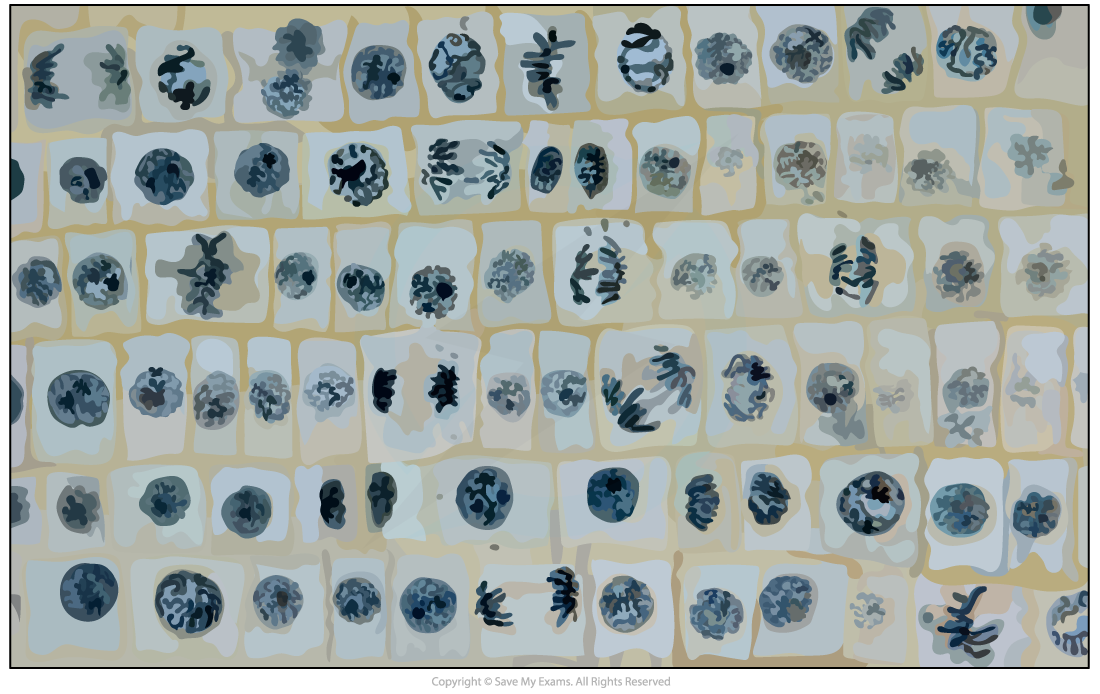
Expected results
Cells undergoing mitosis (similar to those in the images below) can be seen and drawn
Annotations can then be added to these drawings to show the different stages of mitosis
Limitations
Sample preparation (squashing, staining, cutting) can damage cells or create artefacts — features that aren’t part of the original cell
Careful technique reduces artefacts but cannot eliminate them completely
Cells and tissues are 3D, so cutting at different angles can make structures appear inconsistent in size or shape
Optical microscopes have limited magnification and resolution, so very small structures cannot be seen clearly

Unlock more, it's free!
Join the 100,000+ Students that ❤️ Save My Exams
the (exam) results speak for themselves:

Was this revision note helpful?