The Second Boer War: The Army & the Sieges, 1899-1902 (Edexcel A Level History: Paper 3 Options): Revision Note
Exam code: 9HI0

Summary
Britain went to war with two independent Boer republics in southern Africa in 1899
Britain had enormous advantages in terms of manpower, resources and technology
However, Britain suffered a series of humiliating defeats at the start of the conflict during 'Black Week' in December 1899
Several towns were surrounded and besieged by Boer forces
General Buller, the commander of British forces, was replaced by Field Marshal Roberts in January 1900
After Roberts took overall command, the besieged towns were relieved, Kimberley by Roberts’ forces and Ladysmith by Buller’s
Fighting continued, however, as the Boers adopted a guerrilla campaign
Field Marshal Kitchener took over command of British forces in November 1900
He responded to the guerrilla tactics by forcing the Boer populations to live in concentration camps whilst destroying their farms, food and animals
He then constructed thousands of fortified blockhouses, from which soldiers patrolled in search of Boer fighters
The policies led to the deaths of thousands of women and children in the appalling conditions of the concentration camps
They also led to the defeat of the Boers, and the war ended in a British victory in May 1902
The nature of the British Army in southern Africa
In October 1899, the two Boer republics, the Transvaal and the Orange Free State, declared war on Britain when Britain ignored Kruger's ultimatum
These republics had been established by the descendants of European, mainly Dutch, colonists in southern Africa
In 1899, Britain controlled the neighbouring Cape Colony in southern Africa
The conflict was caused by arguments over the rights of British citizens who had moved to the Boer republics
Vast gold deposits had also been discovered in the Transvaal
The British colonial army was expected to easily triumph over the much smaller Boer forces, which were made up of civilian volunteers
British forces had won several colonial wars across Asia and Africa in recent years
They were experienced and technologically advanced
Men and supplies could be quickly transported to southern Africa from around the Empire
The British Army in 1899
When war broke out in October 1899, Britain had only about 27,000 regular soldiers in southern Africa
Most of the army was spread across the Empire, especially in India
Until reinforcements arrived, the Boers outnumbered the British
The army was trained and experienced in colonial wars against poorly armed enemies, such as the Sudan campaign of 1898
Officers expected to win with close-order formations, volley fire and frontal attacks with the bayonet
Against hidden Boer riflemen, these tactics led to heavy losses, for example at Magersfontein and Colenso
The army had too few mounted troops
The cavalry was trained to charge with lances and swords, not to scout or fight on foot
The Boers were all mounted, so they could ride to a position, fight on foot as riflemen and move away much faster than British infantry
Reconnaissance was poor
Commanders often attacked without knowing where the enemy was. At Magersfontein, the Highland Brigade advanced towards Boer trenches it had not found
The army also had weak Intelligence and Staff branches and suffered supply shortages
British soldiers carried Lee-Metford and Lee-Enfield magazine rifles, wore khaki, and their rifles fired smokeless ammunition
However, the Boers’ Mauser rifles were quicker to reload, and the Boers used smokeless powder and concealment so well that British troops often could not see who was firing at them
After the defeats of Black Week, the army was greatly expanded and adapted
Militia battalions, the newly created Imperial Yeomanry and the City Imperial Volunteers were sent from Britain
Volunteers came from Canada, Australia and New Zealand, and from British colonies in southern Africa
Tens of thousands of Black Africans worked for the army as scouts, drivers and labourers
Around 450,000 men served with British forces during the war
The Boer forces
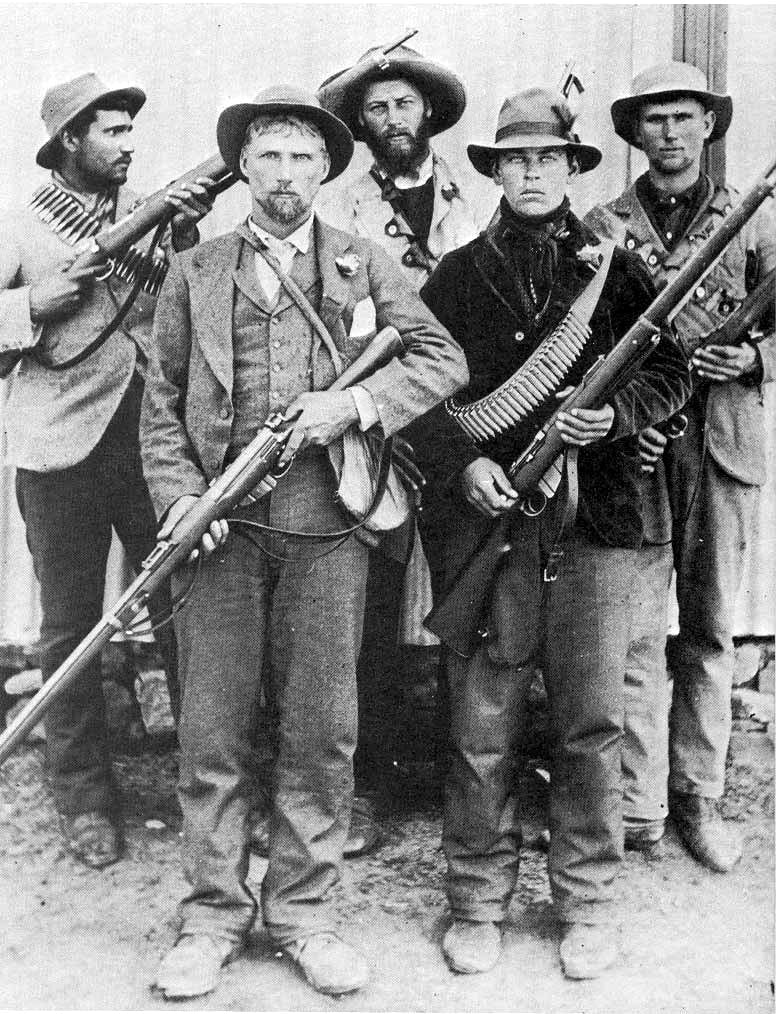
Although the Boer republics could only raise around 60,000 men to fight in their army, they were tough opponents
They were highly motivated to fight as they believed their entire culture and way of life was under threat
Each Boer district formed a unit of men, known as a commando
They were skilled fighters and horsemen who knew the country and enjoyed the support of many civilians
They were equipped with powerful and accurate German-built Mauser rifles
The Boer republics also purchased modern artillery guns, including 'Long Toms' from France that had an accurate range of 9 kilometres
The sieges of Mafeking, Kimberley and Ladysmith and the impact of Black Week
The first British reinforcements arrived in southern Africa on 7 October 1899
These 10,000 troops drawn from British regiments in India, Malta, Egypt and Crete, prevented the Boer forces from capturing the port of Durban in British-controlled Natal
Commanded by Sir George White, they were soon outnumbered and surrounded by Boer forces and artillery in the town of Ladysmith
Similarly, a British force of 1,200 men commanded by Colonel Robert Baden-Powell was besieged in the town of Mafeking by 7,000 Boers
Another siege was also established at Kimberley when 7,500 Boers surrounded the diamond-mining town
Reinforcements and attempts to relieve the sieges
At the end of October 1899, General Sir Redvers Buller arrived to take command
On 18 November, the First Army Corps arrived, meaning that British forces were no longer outnumbered
Buller divided his forces into three groups
Around 20,000 men were sent to relieve the sieges at Kimberley and Mafeking under General Lord Methuen
A force of 3,000 was sent to secure the northern Cape from Boer advances under General Gatacre
Buller took direct command of 30,000 men and set off to relieve Ladysmith
The impact of Black Week
The week of the 10–17 December 1899 saw British forces suffer a series of defeats and became known as 'Black Week'
It began with General Gatacre losing 700 of his 3,000 troops at Stormberg, an attack on the northern Cape on 10 December
The following day, Methuen's forces suffered 900 casualties at Magersfontein as they failed to relieve Kimberley
On 15 December, 21,000 of Buller's men engaged with 8,000 Boers whilst trying to cross the Tugela River at Colenso
There were 1,100 British casualties compared to just eight Boer deaths
The humiliating defeats led to Buller being replaced by Lord Roberts, with Lord Kitchener appointed as his chief of staff
Roberts had fought with distinction during the 1880 Afghan War, and Kitchener was considered the hero of the 1898 Sudan campaign
The defeats also led to large numbers of men rushing to join the British Army
This became known as 'khaki fever', named after the dust-coloured uniforms that the British Army now wore
The government responded by calling for volunteers, creating the Imperial Yeomanry and sending out Militia battalions
By January 1900, a force of 180,000 men was assembled in southern Africa
This contained volunteers from Australia, Canada, New Zealand and British-controlled southern Africa as well as men from Britain
Many volunteers were rejected as physically unfit, which raised concern about the health of the urban poor
The significance of the sieges
The sieges tied down thousands of Boer fighters
Instead of advancing quickly into Natal and the Cape Colony while British forces were still small, the Boers spent months besieging three towns
This gave Britain time to bring in reinforcements, so many historians see the sieges as a major Boer strategic mistake
They changed British strategy
Buller had planned to march directly on Pretoria, but relieving the towns became the priority
He split his army into three to relieve the towns and protect the northern Cape, which led directly to the defeats of Black Week
They had a political and symbolic importance far greater than their military value
Kimberley was a key diamond-mining town, and Cecil Rhodes was trapped inside it, putting pressure on the army to relieve it quickly
The British public followed the sieges closely, and Baden-Powell’s defence of Mafeking made him a national hero
The relief of Mafeking in May 1900 set off wild celebrations across Britain, which became known as “mafficking”
Examiner Tips and Tricks
When a question asks about the significance of the sieges, consider their military, strategic and political impact, not just what happened in each siege. For example, ask how the sieges shaped British strategy and public opinion.
The Roles of Roberts, Kitchener and Buller
Although the Boer War only lasted from 1899 to 1902, British forces were commanded by three different men during that period
General Sir Redvers Buller
Buller was the first to be given command of the British troops in southern Africa in October 1899
He planned to attack Pretoria, the Transvaal capital, but the Boer sieges forced him to split his army to relieve the besieged towns
He took personal command in Natal and suffered a heavy defeat at Colenso (15 December 1899) while trying to cross the Tugela River
Afterwards, he suggested to Sir George White that Ladysmith might have to surrender, which damaged his reputation
Roberts was appointed commander-in-chief over him, but Buller kept command of the army in Natal
Relations between the two were uneasy: Buller felt let down by the lack of support for Natal, while Roberts grew impatient at his slow progress
In January 1900, Buller’s second attempt to relieve Ladysmith failed at Spion Kop
Under the command of Sir Charles Warren, British troops captured the hill at night but found their trenches open to Boer rifle and artillery fire from the surrounding hills
After a day of heavy losses, with over 1,000 British casualties, the British withdrew
Another attempt at Vaal Krantz in early February also failed
In late February 1900, Buller finally broke through at the Tugela Heights
He used new tactics: artillery and infantry worked closely together, infantry advanced in short rushes in open order, and the Boer positions on the hills were taken one by one
Ladysmith was relieved on 28 February 1900, after a siege of 118 days
Buller then advanced into the Transvaal and won the Battle of Bergendal in August 1900
He was replaced by Lord Roberts in January 1900
Buller was strongly criticised in the press after Roberts replaced him
When he responded to these criticisms in a speech, he was seen to be breaking military discipline by the government and dismissed from the Army
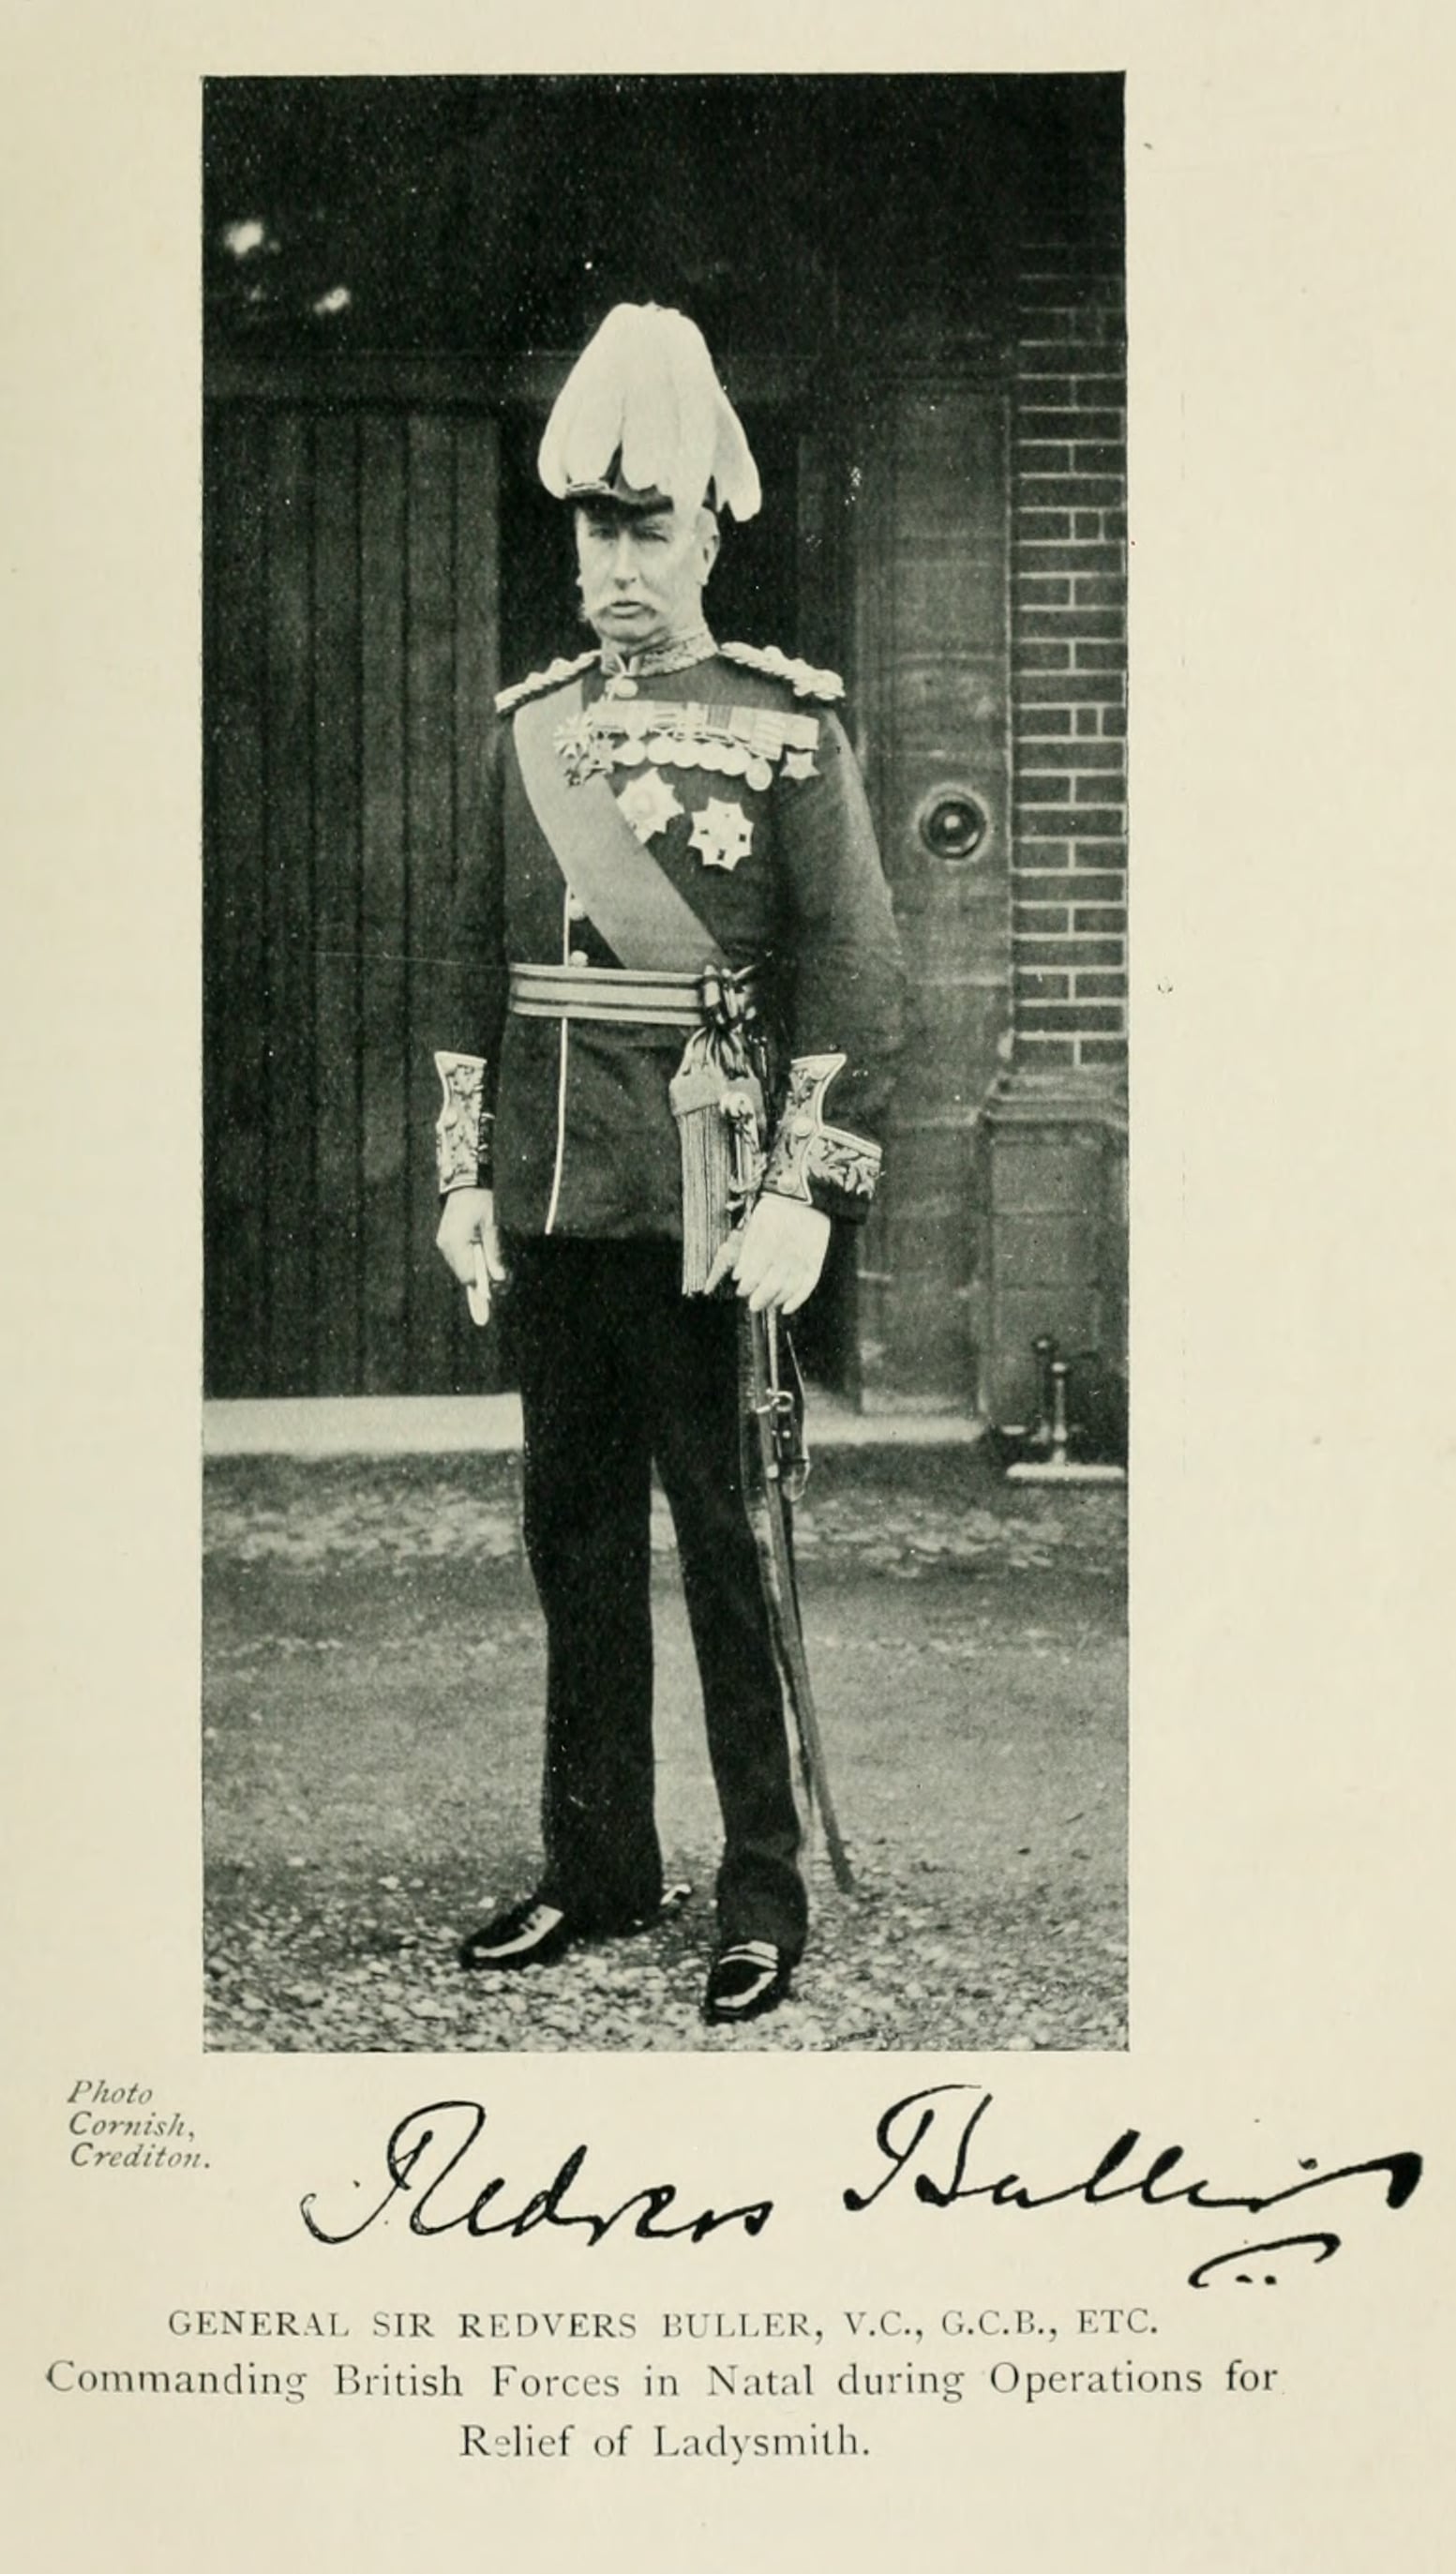
General Sir Redvers Buller, Cornish of Crediton, c. 1900. Public domain, via Wikimedia Commons
Examiner Tips and Tricks
Avoid judging Buller only on Black Week. To assess his importance, weigh his early failures against his relief of Ladysmith, and consider his relationship with Roberts after January 1900.
Field Marshal Roberts
Roberts took command of the British troops in southern Africa in January 1900 and was far more successful
His strategy was to divide his forces so that the besieged towns could be relieved as soon as possible and so the Boer republic territories could be directly attacked
The Boer general Piet Cronjé retreated east along the Modder River but was trapped at Paardeberg
While Roberts was ill, Kitchener ordered frontal attacks on 18 February, which cost over 1,200 British casualties, the heaviest losses of any single day in the war
Roberts then surrounded the Boer camp and shelled it with artillery instead of attacking
On 27 February 1900, Cronjé surrendered with about 4,000 men
It was the first major British victory of the war and the turning point of Roberts’ offensive
Kimberley was relieved by General French's cavalry on 15 February 1900, and Buller's army finally relieved Ladysmith on 28 February 1900
The capital city of the Orange Free State, Bloemfontein, was captured by British forces in March
Mafeking was relieved in May
The capital of Transvaal, Pretoria, was captured on 5 June 1900
President Kruger of the Transvaal fled to Europe while President Steyn of the Orange Free State stayed with the commandos
The main Boer armies were comprehensively defeated
However, Boer populations continued to fight a guerrilla campaign against the British throughout the summer of 1900
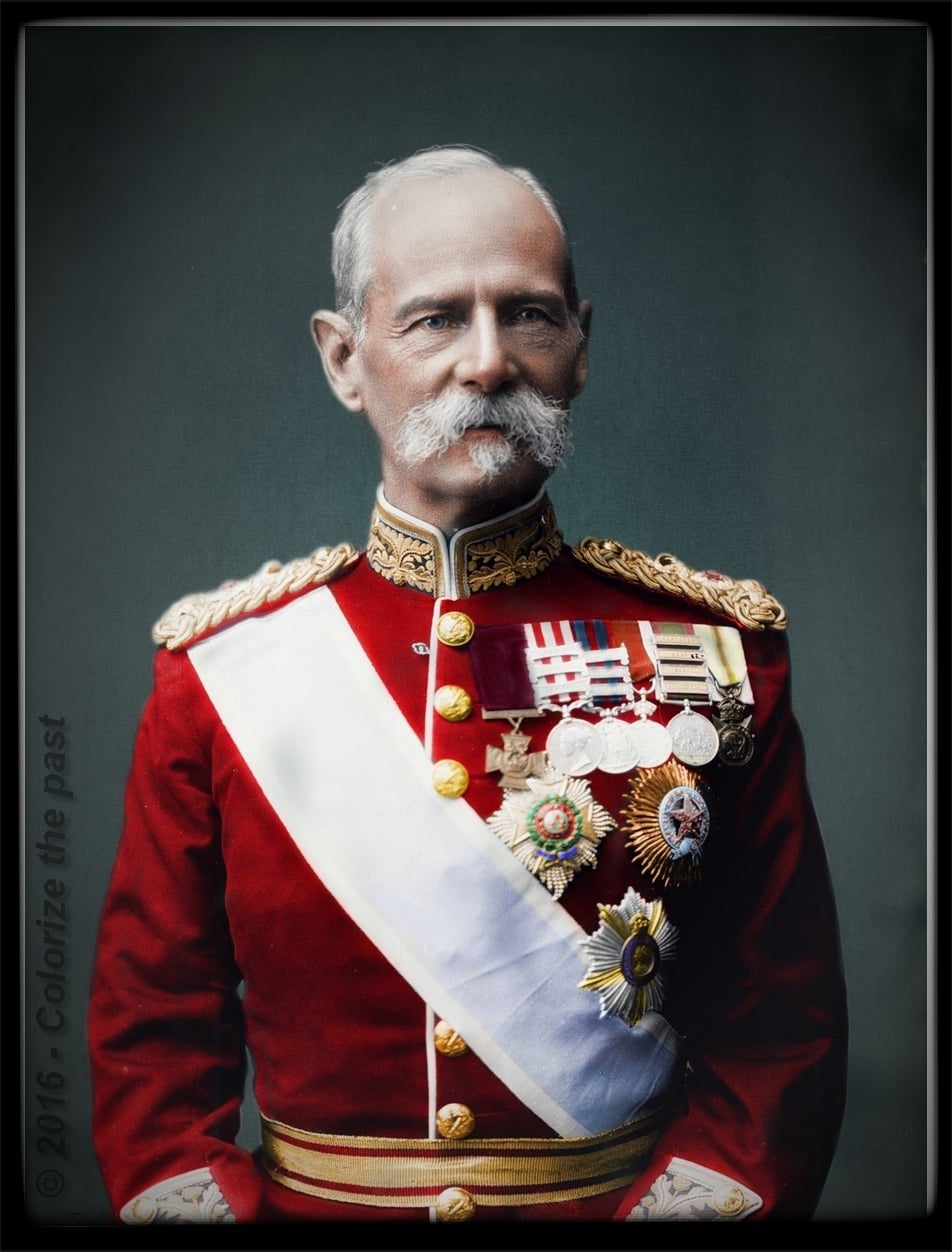
Field Marshal Kitchener
Kitchener took command in November 1900
His task was to oversee the end of the war and extinguish the threat of the guerrilla fighters
To do this, he continued Roberts' policy of destroying everything, such as food stores and livestock, that may be of use to the enemy
This 'scorched earth' policy led to many Boer farms and homes being burned
In order to empty the countryside of people suspected of supporting the Boer fighters, Kitchener greatly expanded the number of 'concentration camps' that would concentrate the Boer populations in one small area
The men, women and children who were forced into these camps suffered terribly
They were given inadequate food, and sanitation facilities were insufficient for the crowded camps
As a result, disease and dysentery spread rapidly
Although Kitchener did not implement a deliberate policy of extermination, around 1 in 4 of the Boer inmates died
This included over 20,000 women and children
At the same time, tens of thousands of Black Africans were also rounded up and placed in separate camps
It is believed over 12,000 of these died due to the conditions they were kept in
Once the concentration camps had destroyed the support network, Kitchener went about hunting down the Boer guerrillas
He did this by building 8,000 fortified blockhouses that were manned by a small group of soldiers
Each blockhouse was given responsibility for a parcel of land, which was fenced off with barbed wire
The troops would patrol their land and, if Boer fighters were encountered, they would use the telegraph system to call for mounted reinforcements
Kitchener's policies of containment and relentless harassment were brutal but effective
It became obvious to even the most committed Boer fighter that continuing their struggle was futile
The Boer War came to an end with the signing of the Treaty of Vereeniging in May 1902
It cost the lives of 22,000 British soldiers, nearly 8,000 in battle and the rest through disease
The war cost £217 million
Around 7,000 Boer soldiers were killed, although many more of the Boer population died as a result of British policies that led to the spread of sickness and disease
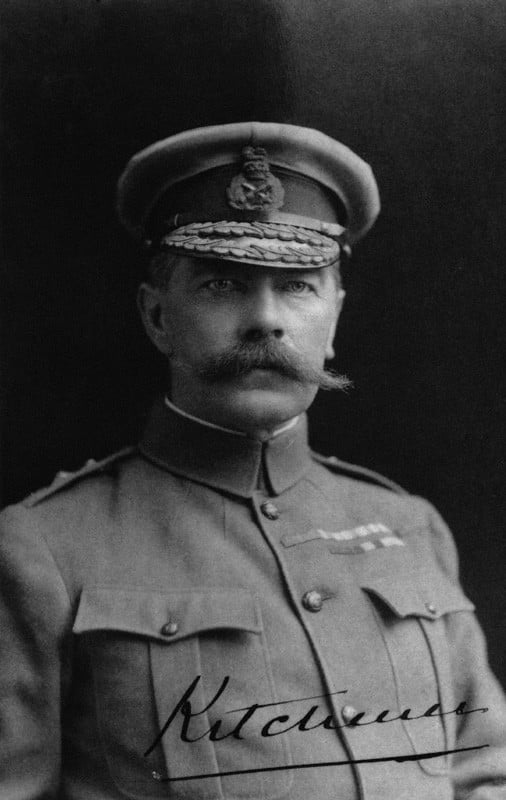
How important was leadership to British victory in the Boer War?
The argument that leadership was extremely important in Britain's victory in the Boer War
The humiliating defeats of Black Week in December 1899 illustrate how important leadership was to Britain's eventual victory
Despite having greater resources than the Boer republics, poor use of reconnaissance and a bad choice of battlefield tactics by Buller meant British troops were defeated
Buller’s record is mixed
His early defeats at Colenso and Spion Kop were costly, but his new tactics at the Tugela Heights relieved Ladysmith
This suggests British commanders learned from their mistakes
When Roberts, with Kitchener as his chief of staff, was appointed commander in December 1899 and took command in January 1900, a series of spectacular British military successes soon followed
Roberts and Kitchener adapted their tactics to face the unique challenge that the Boers posed
Kitchener's policies of scorched earth, concentration camps and blockhouses were brutally effective responses to guerrilla war that led to victory
The argument that factors other than leadership were important in Britain's victory in the Boer War
Britain had an overwhelming advantage in terms of manpower and technology
Hundreds of thousands of men from all over the British Empire were deployed in southern Africa
The Boers could only deploy a fraction of this number
Britain had enormous industrial and financial power
Its ability to supply weapons, ammunition, horses, food, and railways far outstripped that of the Boers
The railway network enabled Britain to distribute troops and supplies that arrived by sea to where they were needed very quickly
The telegraph system enabled British forces to communicate and coordinate over large distances
Judgement
Leadership was highly important, as demonstrated by the change in fortunes after Buller was replaced by Roberts and Kitchener
However, leadership alone did not win the Boer War for Britain
Britain had enormous advantages in terms of manpower, money, technology and resources
The strong leadership exploited these advantages, which gradually exhausted Boer resistance
Examiner Tips and Tricks
Always check the dates in the question before you plan your answer. Examiners only credit evidence from inside the period the question sets.
For example, a question might ask why the Boers were so successful against the British up to the relief of Ladysmith in February 1900. That means you should focus on:
the first months of the war, from October 1899
the sieges of Mafeking, Kimberley and Ladysmith
the defeats of Black Week in December 1899
Spion Kop in January 1900
Evidence from later in the war, such as Roberts’ capture of Pretoria or Kitchener’s concentration camps, won’t gain credit, however accurate it is.

Unlock more, it's free!
Join the 100,000+ Students that ❤️ Save My Exams
the (exam) results speak for themselves:

Was this revision note helpful?